We’ve been playing Pokemon Go (PG) with the boys for a week now, and we’re having great fun. It’s proved an excellent incentive to persuading small people to go out for a walk, and we’re clocking up steps on our FitBits like never before. The walks take a fair bit longer than usual as we have to pause regularly and zig-zag along our nominal route to hit as many pokestops and gyms as possible, and to catch wild Pokemon(s?). We’re also having fun spotting other folks playing, and chatting with cheery strangers who think it’s cute to see a family out gaming together. I’m not sure when I last saw a phenomenon like it. If you haven’t started playing yet but think you might like to, here are a few tips from our experiences.
Disclaimer: The game is too complex to cover everything in this one post, and if I hold off on posting till I’ve covered everything, O’Reilly will have already released the Missing Manual. (Double-disclaimer: AFAIK, there are no plans for a Pokemon Missing Manual!)
Accessing the game
- Download the app from your Android/iOS app store.
- Log in – you’ll need a Gmail account or a Pokemon Trainer Club account. I used a Gmail account – I know nothing about Pokemon Trainer Club accounts. If you’re planning on letting kids play and want them to have their own account, you can’t sign up for a gmail account if you’re under 13, so you may want to create a second account for yourself that you allow your kids to use.
- When you’re prompted to give your trainer a name, bear in mind that other players will be able to see the name – keep it clean and friendly.
- In the first week of game availability in Ireland, servers have tended to get overloaded mid to late evening, so you couldn’t log in. If you’re trying to schedule your first experimentation session, aim for morning or lunchtime instead to avoid disappointment and frustration (adjust this recommendation for local time where you are if you’re not in Ireland!).
Battery and resource usage
 The game is only “on” if it’s your primary app, and your screen is awake. Exit the app, or turn your screen off, and the game stops working.
- You’ll want the game to be “on” to find Pokemon and to clock walking distances (required to hatch eggs – see below).
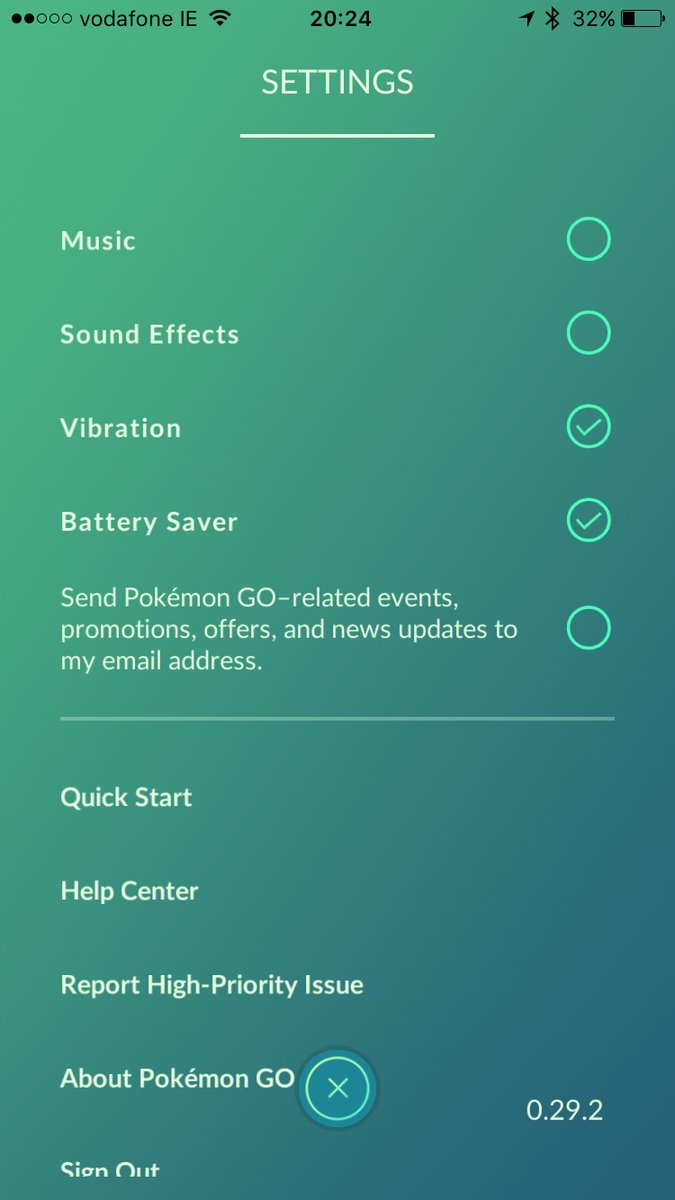
- PG is a thug for consuming battery. At an absolute minimum, you should go into the game settings (tap the pokeball bottom-centre on your screen, then the settings cog in the top right) and turn off music and sound effects, and turn on battery saver. Also – when prompted to give the app camera access, say no – the Augmented Reality (AR) which shows the Pokemon superimposed on the real world view through your camera is very cute, but it’s a resource hog and actually makes the Pokemon harder to catch to boot.
- While battery saver mode is on, when you point the top of your phone at the ground, the screen will go “dark” (showing a watermark of the game logo), saving some energy.
- Provided you left vibration turned on in your settings, your phone will “buzz” when a Pokemon appears, so you can turn your screen right-way-up to catch it.
- Buy an external battery pack to recharge on the go. (We passed two people in town yesterday with one phone to chat on, and a second to play PG on, but that seems extreme!)
Pokestops
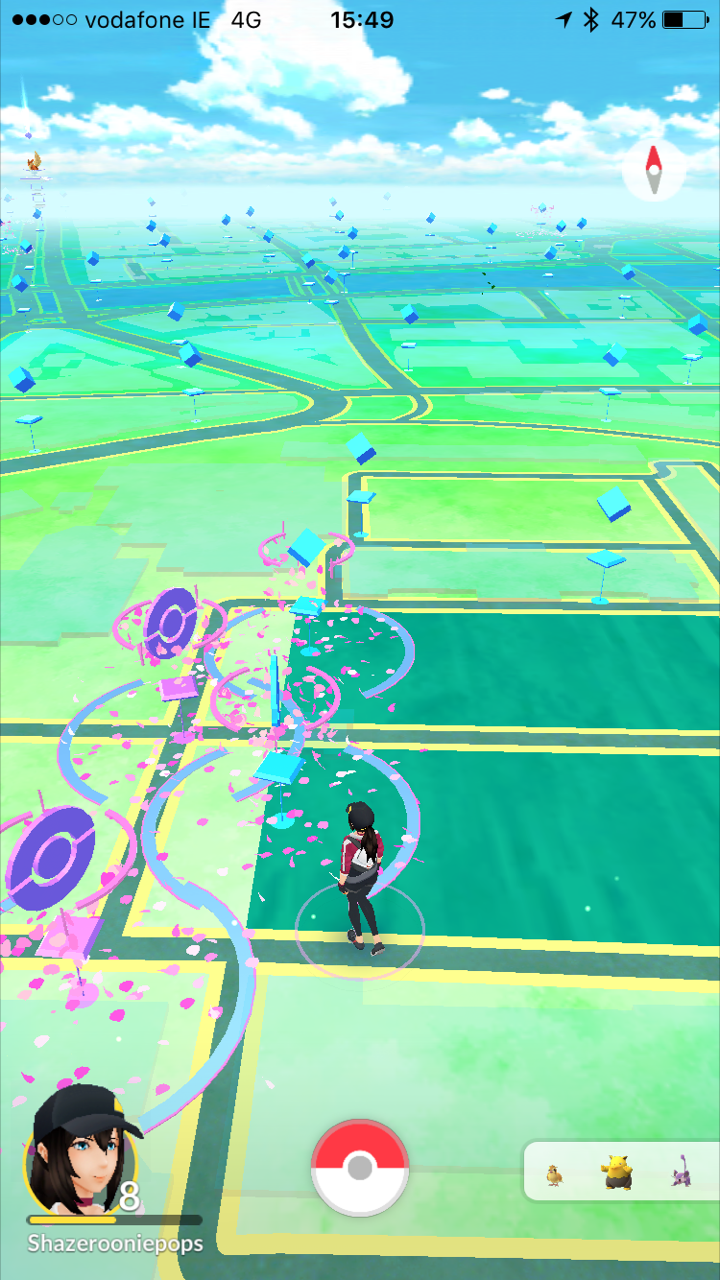
- Check out the map around your area from the comfort of your home/office/cafe before you start walking and figure out where the pokestops are – these show up as blue hovering diamonds on the map. They’re dense in some areas and crazy sparse in others – aim for a dense area for your first foray.
- Click a pokestop to see its name and a photo of what it looks like – click the stop name to see a full screen image if you’re stumped by the small version.
- Get up and actually walk to the pokestop(s) you want to visit!
- Once you’re within range (10-20 meters?), click the pokestop on the map and “spin” the image of the stop by swiping left or right. Bubbles with rewards (including pokeballs, which you’ll need to capture wild Pokemon) will pop out of the pokestop – you can tap them to burst the bubbles and collect the goodies, but if you just close your view of the stop, they’ll be harvested automatically anyway.
- You have a virtual backpack to collect rewards, and it has a maximum capacity of 350 items. Once it’s full you can’t collect any more rewards.
- You can either upgrade your backpack to add space (in app purchase), or regularly check your inventory and ditch unwanted resources.
- To check what’s in your backpack, tap the pokeball bottom-centre on your screen, then tap the “items” icon.
- When editing your inventory, consider what stage of game play you’re at and what’s useful. Revives and potions aren’t useful unless you’re battling, which you can’t do till level 5, so these are good things to ditch to make space at early stages. As you level up, you get access to more powerful versions of pokeballs and potions, so can ditch the low-powered equivalents to make space.
- You get XP (experience points) for most activities in the game, including spinning pokestops, so it’s worth spinning them even if your bag is full and you can’t claim the loot.
- If there’s purple confetti-like stuff hanging around a pokestop, someone’s added a lure, which makes more Pokemon appear in the vicinity.
- Lucky eggs, incense and lures are good. Don’t ditch them! More below.
Catching Pokemon
- When you encounter a wild Pokemon, your phone will buzz. Look at the map to see where it is, and tap it. You’ll go into a full screen view of the critter with a white circle around it and a coloured circle inside that shrinks towards the centre, then goes back to just inside the white circle and starts the cycle again.
- Allegedly it’s easier to catch the Pokemon when the coloured circle is at its smallest, but the experience has seemed relatively random to me.
- Sometimes there seems to be a sideways “breeze” that knocks your pokeball off course – I can’t tell whether this is in reaction to the app detecting local weather conditions, or is some kind of overlayed effect, or what. Adjust your aim to compensate when you notice it’s happening.
- If you have Razz Berries in your backpack, you can use them by clicking the backpack icon to the bottom-right of your screen, tapping a Razz Berry, then tapping it again when you’re back in the Pokemon view. A love heart will appear over the Pokemon indicating that it’s more inclined towards being captured. The effect will last a few throws – until you get the Pokemon into a ball at least. If it escapes, you can deploy another Razz Berry.
- Similarly, if you have stronger pokeballs, you can click the same icon to select them to catch with instead of the regular red ones. The capture rate increases with the different levels of pokeball.
- If you’re at a pokestop, you can deploy a lure which will attract Pokemon to the stop. Other players will benefit from this too. Various businesses have been deploying lures at stops near their businesses to encourage more footfall/custom, and annecdotally, it works!
- If you have incense, you can deploy it on yourself. Allegedly, incense will only attract Pokemon to you, not to other players, but when we’ve gone walking with our kids, we’ve seen the same Pokemon appear on both of our phones all the time regardless of which of us deployed incense. We saw someone talking about reverse engineering the PG code and determining that if you use incense while stationery you should see a Pokemon spawn every 5 mins, but that if you walked you should see one every 1 min – that hasn’t been our experience. I spent 20 mins in our garden with incense deployed and didn’t see a single Pokemon (server issue?).
- When you catch Pokemon, you also get “candies” for that Pokemon type – you’ll need these to power up or evolve your Pokemon later.
- You can max out your Pokemon storage, after which you won’t be able to catch any more. To make room, transfer unwanted Pokemon. You’ll earn one of the transferred Pokemon’s candies for each transfer.
- Even if you transfer the last one of a particular type of Pokemon, you’ll see it listed as one you’ve encountered in the Pokedex, so you’ll always have that fond reminder.
- If a Pokemon is proving too hard to catch, or you decide it’s not worth wasting a limited supply of pokeballs on (the number of pokeballs of the current type left in your inventory appears beside the ball at the bottom of the screen), you can “run away” from the encounter by clicking the icon in the top-left corner of the screen.
XP
- Spin pokestops even if your backpack is full – it’s worth 50XP.
- Catch all the Pokemon you can – 100+XP each time.
- Evolve Pokemon. It’s tempting to evolve higher level Pokemon to get interesting new critters, but you get the same XP for evolving regardless of what it is you’ve evolved. Pidgeys and Rattatas are abundant and take few candies to evolve, so evolve a rake of them to level up fast. You can trade the evolved ones in for more candy later.
- A neat trick to get lots of XP quickly is to save up lots of Pokemon evolutions to do in one sitting with a lucky egg deployed. You get double XP for everything you do while a lucky egg is deployed. You get 500XP for evolving a Pokemon, and if it evolves into something you’ve not had before, you get another 500XP – manage to do this with a lucky egg deployed, and that’s 2000XP in one click.
Eggs
- You sometimes get eggs as rewards – these contain Pokemon, and you have to hatch them by putting them in an incubator then walking the specified distance. Eggs come in 2k, 5k and 10k.
- The higher the mileage (kilometerage?) required to hatch an egg, the “better” the Pokemon inside.
- You can only have 9 eggs at a time, so hatch 2k eggs asap to make space for more in the hopes that you’ll land a nice 10k one.
- You get 1 infinite-use incubator at the start of the game, and get rewarded with additional 3-use incubators as you level up.
- All incubators do the same job, but because the “good” ones can only be used 3 times, it’s worth putting 2k eggs into your infinite-use incubator, and saving the 3-use ones for 5/10k eggs. The logic here is: 3x2k=6k of value if you put 2k eggs in your “good” incubator, whereas 3x10k=30k of value if you put in 10k eggs. I didn’t quite understand this at the start, so my only in-app purchase so far has been to buy extra incubators to make up for squandering the early ones.
- PG measures how far you’ve walked by polling your location intermittently and deciding whether you could have reasonably walked the distance from your last position in the intervening time. If you move too fast, it won’t count, so you can’t drive around to hatch eggs, you have to walk. That said, I’ve been told that some public transport in Dublin moves slowly enough during rush hour that you can hatch a lot of eggs while commuting.
Gyms
- Once you’ve reached level 5, you can start battling gyms.
- When you’re asked to pick a team to join, pick Yellow. *cough* Yellow, yes. Yellow. *cough*
- Train at friendly gyms (ones held by Pokemon in your team colour) to increase the gym prestige (to train, tap the gym on the map, and if you’re in proximity tap the punching glove icon in the bottom-right of the screen), increasing its level and thus the number of Pokemon that can be deposited there to protect it.
- Battle competitor gyms (other colours) to take them down and claim them for your team by leaving a Pokemon behind.
- You need to win a battle against all Pokemon currently in the gym to take it down one level (to battle, tap the gym in the map, and if you’re in proximity click the “fight” icon in the bottom-right of the screen). Repeat till all levels have been taken down. So, for example, if you’re battling a 3-level gym, beat all 3 Pokemon in the gym once to make it a 2-level gym; battle again and beat the 2 remaining Pokemon to make it a 1-level gym; battle again and beat the 1 remaining Pokemon to empty the gym out and make it yours for the taking.
- You can earn pokecoins to spend in the app shop by claiming for all the Pokemon you have in gyms at a moment in time. You can only claim once every 21 hours, so it’s worth identifying a group of gyms in close proximity that you can do a circuit of.
- Increase the prestige of a protected gym owned by your team and leave a Pokemon there. There’s strength in numbers, so make the most of opportunities to team up.
- You can still see the Pokemon you’ve “left” at the gym, but you can’t take it back out, power it up, use it to battle, or leave it anywhere else. It’ll be automatically reactivated in your Pokemon list when it’s defeated at the gym, and you’ll want to deploy a revive (maybe) and some potions (definitely) to heal it back to full strength
Further reading/viewing
- Trainer Tips on YouTube – we love these guys. They’ve been playing since the beta and have lots of useful info.
- PidgeyCalc – when it’s time to start evolving your Pokemon, you can tell this calculator how many of each type you have and how many candies, and it will recommend the best way to maximise your XP.
- There are various 3rd party map services that aim to tell you where to find Pokemon close by – we haven’t found any that are particularly useful for Dublin, but have a google and maybe you’ll get lucky.
Right – I’m leaving it at that, because trying to explain Pokemon Go is a real how-long-is-a-can-of-worms job, and I do have “real work” to be doing. I might do more posts if I learn other cool things about the game. If you have tips I’ve missed, please comment below! Happy Pokemon Go-ing! 🙂
Excellent. Thanks Sharon. Some great tips here!